Monday, January 30, 2012

Date Night

The boy and I have been together 7 years and living together the past year and a half.  With any relationship lasting that long, you tend to fall into a comfortable routine. No we don't eat and do the same things the same day each week, but yes we do tend to do very similar things each week, varying slightly depending on our moods.  Every so often you need to mix things up a bit with a slightly different date and as I could tell the boy was getting somewhat restless I decided to plan a special date night- a sleepover in the living room inspired by this website

I started by making an invite and leaving it for the boy on his keyboard (since after loving me and the dog, the computer is his third stop).


Then after I came back from my evening appointment to get a much needed haircut I managed to pull our mattress into the living room by myself while the boy was busy with his computer game.  I still don't know how I managed that.  As you can tell from the picture, the dog was thoroughly freaked out by the bed switching rooms. 


And of course I prepped a pile of snacks to munch on throughout the evening.


The boy showed up promptly at 8:30 in the living room, completely baffled at how I managed to move the mattress by myself (memory foam is heavy and has no place to grip it!).  We spent the evening watching Star Trek V, playing board games (wooo Sorry and Life!) and answering questions about ourselves because even after 7 years there is still plenty to learn about each other. 

It was such a simple and fun date that was easy to throw together at the last minute and different enough to shake things up a bit. 

Sunday, January 29, 2012

Cooking Week Four: Pan Frying

This week's cooking challenge was about pan frying.  I'm not so good at this technique.  I'm not precisely sure why, but it isn't my strength.  For this challenge I went through my giant binder full of recipes I've ripped from magazines until I came across one that sounded good this week and fit the challenge.  I decided on Spicy Chicken Sandwiches.  It also had a recipe for lime mayo but as I believe mayo to be the devil, I ignored this part of the recipe. 


A number of problems arose with this recipe.  First of which was the direction to cut the chicken breast in half horizontally which I believed should look like this:


I only discovered how wrong I was when I was anxiously trying to make the chicken cook as fast as it said it should so I could go get my hair cut. It should have been the other horizontally, so that I had two very thin and identically shaped cutlets.  Duh. 


The second step was to marinate both halves in a marinade of one egg, 3 Tbsp. tabasco, and some oregano and salt.  I did this for 8 hours. I discovered I'm not hugely fond of that much Tabasco flavor.  I think I need to buy a different hot sauce, suggestions?


Then I had to crush up some tortilla chips.  Which I should have done much finer.  Why didn't I?  I dunno.  Just didn't.  Cuz I suck I guess.  So my breading did not stick well and I wound up having to just pour some  crumbs on top of my sandwich when I went to eat it.


Then you pan fry it.  If you cut your chicken right it should be three minutes on a side, but the way I cut it took much much longer.  All in all it came out okay.  My homemade hamburger buns helped to make up for what the chicken was lacking ( and the delicious roasted garlic potatoes I made!) but I would do it much differently next time.   


Thursday, January 26, 2012

Baking Week Four: Frosting/Filling

It took me a long time to decide what I felt like doing for this week's challenge.  My first idea was whoopie pies since every month by the 24th I owe cookies to a friend as an ongoing cookie club Christmas present.  I lost interest in doing these somewhere along the line and ran across a Chai Shortbread recipe in my magazine cutouts that I thought would be a big hit.  I'd share the recipe, but I was not happy with the one I used.  Google it if you are interested and try your own :) 

After deciding I didn't want to do the Whoopie Pies, I moved on to Brown Sugar Poundcakes and Browned Butter Icing from Martha's Cupcake book.  Again I lost the drive for this project.  I flirted with the idea of homemade PB (as a sandwich filling hehehe) but finally settled on making a brown sugar and cinnamon filling for the boy's poptarts this week and a simple icing for the top.


I make the boy poptarts for his work breakfast.  I was buying store bought for a while but decided I didn't like all the mystery ingredients in them (something I've been trying to be conscious of since reading In Defense of Food).  So for a few months now I've been making his poptarts.  Each time trying something a  little different until I come up with the perfect recipe.

This time I followed the icing and the crust recipe from the book Make The Bread, Buy The Butter (which as a side note is fantastic and will soon be added to my collection rather than just checked out from the library).

The Crust:

2 c. and 2 Tbsp. flour (plus more for rolling)
1 tsp. kosher salt
1 Tbsp. granulated sugar

1/2 pound (2 sticks) of cold butter, cut into bits
1/4 c. cold milk


Whisk together flour, salt, and sugar.  Add the butter and mix until the mixture resembles coarse meal.  I used my food processor, she suggests using your fingers and working quickly.


Add milk and mix until clumpy.  Form into a ball, flatten into a disk wrap and refrigerate at least 1 hour.


Mine was too crumby and not clumpy enough. It worked better for me on the second roll out, but pie crust is not my strong suit yet.

When you are close to rolling the dough out (after the 1 hour refrigeration period) mix up your filling. You can use jam or this delicious brown sugar and cinnamon filling I found here. I'm also considering trying her whole poptart recipe because the oats in it interests me.

1/3 cup brown sugar
1 1/2 teaspoons flour
1 1/2 teaspoons cinnamon

Mix and you are ready.


Also lightly beat an egg in a bowl to use for assembling the tarts.

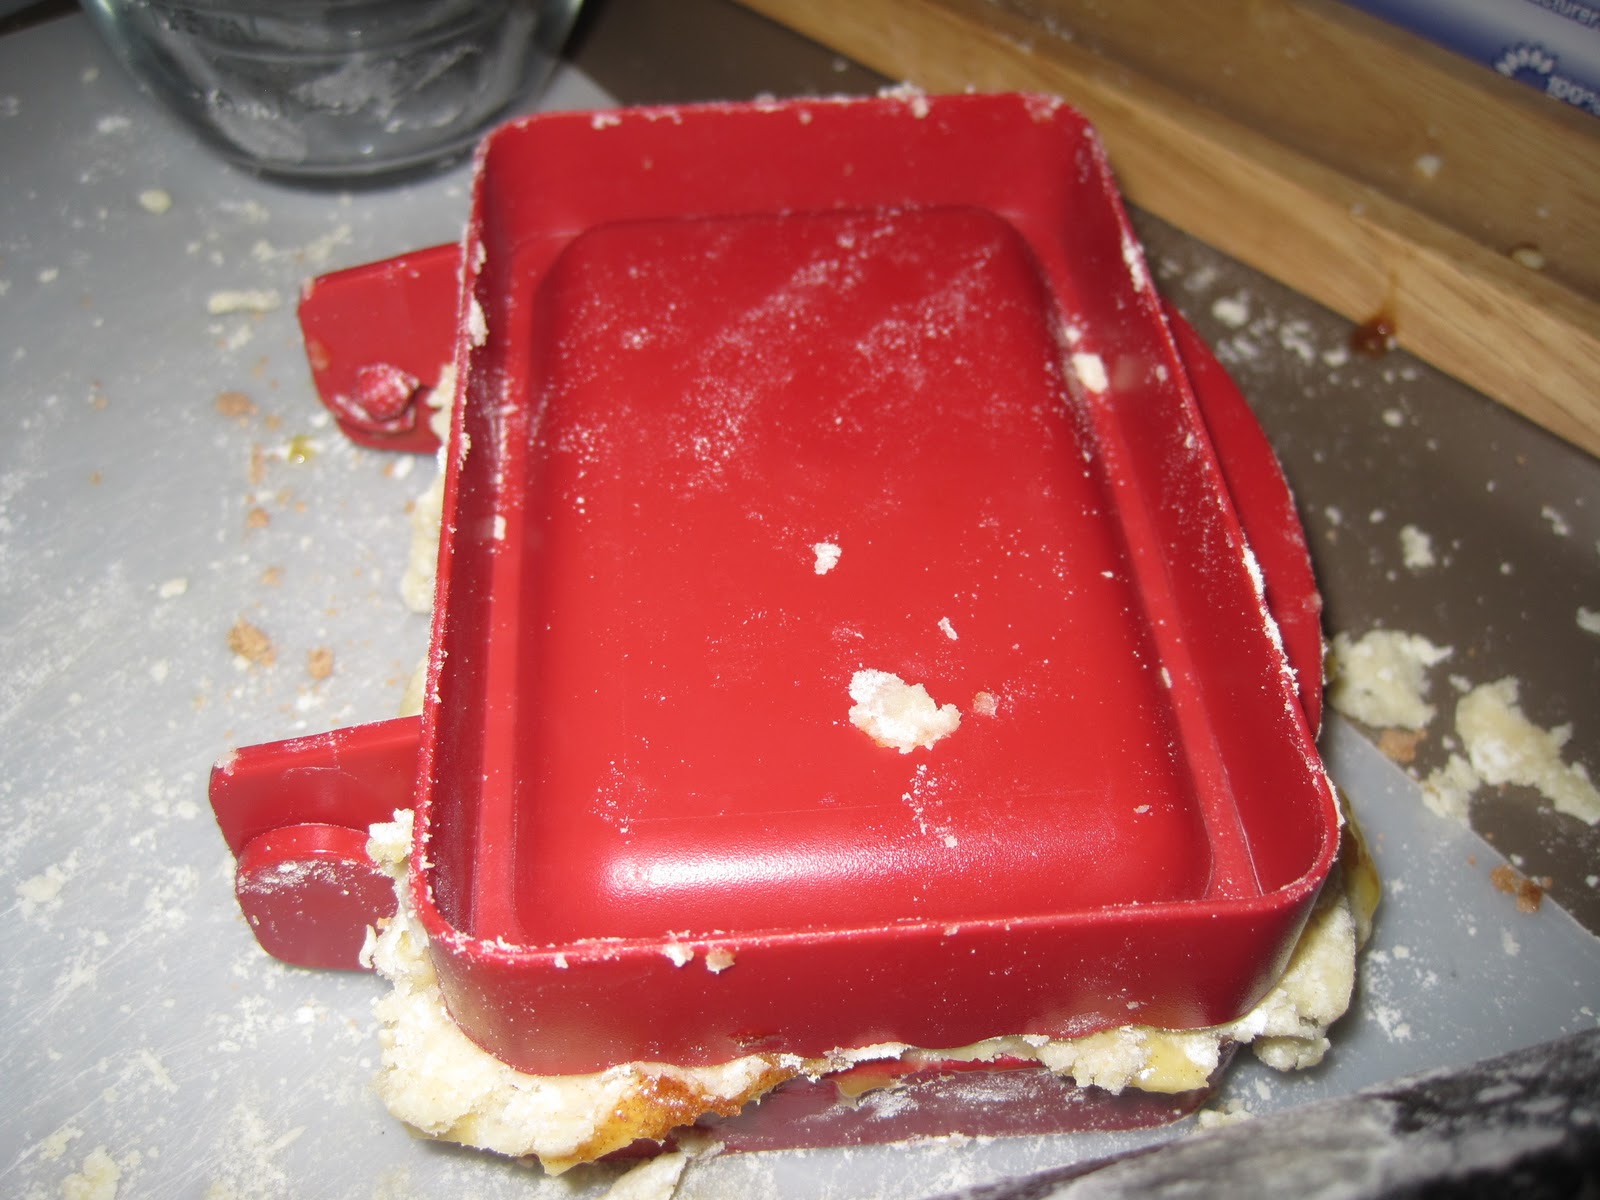
Now roll out the dough into a a very thin square/rectangle/whatever you can manage liberally using flour so nothing sticks. Cut rectangles the size you want your poptarts to be. I have this handy poptart maker that determines the size for me (you can see it in the pics). If you have one as well I highly recommend flouring it as well because it makes it easier to remove the tarts.

On one rectangle put your filling down. My squares take about 2 Tbsp. of filling although yours will vary depending on how they are cut.


Brush the beaten egg around all the edges and lay a second rectangle on top. Seal by pressing a fork along the edges or closing the press. Repeat until you are out of dough. You can reroll the scraps and keep cutting but I don't recommend more than 2 roll outs.


Put finished poptarts on a parchment lined baking sheet. Pierce the top a few times with a fork and brush the tops with egg. Bake at 400 for 13-18 minutes depending on size and oven. Mine were ugly. Very ugly. But taste matters more.

Let them cool before mixing up the icing and frosting. If you're even half as messy as I am you have some cleaning to do anyway :)  


The icing is VERY simple, but delicious. Also from Make the Bread, Buy the Butter with one Thundercrafts addition.


1/2 c. powdered sugar, sifted

1-2 Tbsp. milk or heavy cream ( I used 2 of heavy cream)

1/8 tsp. vanilla extract

You can use a few drops of food coloring if you want. To go with my cinnamon sugar center and to add a little color (even if that color is brown) I used a sprinkle of cinnamon


Mix everything until you get a spreadable icing.

Spread on poptarts. Add sprinkles if desired. Enjoy.  


Frosting helps cover the ugly nicely.

DO NOT TOAST THESE IN A STANDARD TOASTER. It will cause a mess. Enjoy cold or from an oven (regular or toaster).

Wednesday, January 18, 2012

Baking Week Three: White Chocolate

After much hemming and hawing over what to do for white chocolate week, I finally settled on making a white chocolate mousse and layering it with some rich chocolate cake and have some delicious ganache over top.  Once again I turned to my trusty cake collection in search of a recipe.  I thought I was only looking for a basic chocolate cake recipe and instead ran across a recipe for something called a Chocolate Truffle Torte.  It sounded so decadently delicious that I couldn't resist and immediately began baking. 

The Chocolate Truffle Torte has four main components: the cake, the mousse, and white and dark ganache.  You make them in about that order with lots of chilling in between.


One note before you even begin considering making this.  Be sure you have plenty of time.  I recommend one of those lazy Sunday afternoons because by rushing this in an evening after work, things did not set as they should.

I also recommend eating this cake in VERY small slices as it is one of the most decadent things I have eaten.  Oh and use a warm knife to cut it!  

This cake makes one 9 inch torte
 Start by preheating the oven to 300* F


¾ lb. Unsalted butter, cut into 12 (1oz.) pieces
1 ½ lb. Semisweet  chocolate broken into ½ oz. pieces
4 Large eggs
4 Large egg yolks

Melt ½ piece of the butter and use it to coat a 3” deep, 9” springform pan.
Heat 1” water in bottom of double boiler and use it to heat chocolate and remaining butter until it stirs smooth.  Transfer to a 5 qt. steel bowl.


Heat 1” water in bottom of a double boiler.  Put eggs and yolks in the top half and whisk while heating to 110* (2-3 min.)  Be very careful that you don't start cooking your eggs.  I did but it all still came out okay.  Transfer to mixer bowl and use a balloon whip to whisk on high until they become pale. (6-7 minutes)


Fold 1/3 of the eggs into chocolate.  Add remaining egg and fold thoroughly.  Pour into pan and put on a baking sheet on the center rack of oven for 1 hr. 10 min. to 1 hr. 15 min. until it reaches an internal temperature of 170*.  I baked mine for an hour, and it had some dark taste to the edges but as previously discussed my oven cooks quickly.  


Cool in pan 45 minutes.  Press gently on outside edges of cake.  Remove the sides of the pan and refrigerate (on pan bottom) at least 1 hour.  More is probably better.


Now, make the mousse:

6 oz. White chocolate in ½ oz. pieces
2 Tbsp. Water
1 Tbsp. Myers dark rum ( I used vanilla because we don't have rum and it worked well)
½ cup Heavy cream

Make sure to follow directions, my mousse was somewhat watery because I was impatient and rushing things.  Still delicious, but not the same.
Heat 1 “ water in double boiler (don’t simmer).  Put chocolate, water and rum in the top of the double boiler.  Constantly stir with a rubber spatula until smooth while heating.  (about 5-6 min.)  Set aside.


Whip the cream in a well chilled bowl until stiff.  Whip 1/3 of whipped cream into the chocolate mixture until smooth.  Add this mixture to the remaining whipped cream and fold until smooth.  Cover with plastic wrap and refrigerate at least 45 minutes. More is not a bad idea.


After the mousse and cake have chilled sufficiently, spread the mousse over the top and sides of the cake and freeze for at least one hour (again more is not a bad idea).


When the cake is ready to be taken out of the freezer, make the white chocolate ganache:

¾ cup Heavy cream
1 Tbsp. Unsalted Butter
12 oz. white chocolate , cut into ½ oz. pieces

Heat butter and cream in 1 ½ qt. saucepan over medium heat until boiling.  Put chocolate in a 3 qt. stainless steel bowl and pour boiling cream over the chocolate.  Let stand 5 minutes.  Stir until smooth.  Put one cup of this in the refrigerator to chill for decoration.  Pour the remainder over the cake, covering the top and sides.  


Refrigerate the cake at least 30 minutes, or until the ganaches are ready to be piped on top as decoration.  

The chocolate ganache can be made at any time in the process by following these directions:


¾ cup Heavy cream
1 Tbsp. Unsalted Butter
9 oz. Semisweet chocolate , cut into ½ oz. pieces

Heat butter and cream in 1 ½ qt. saucepan over medium heat until boiling.  Put chocolate in a 3 qt. stainless steel bowl and pour boiling cream over the chocolate.  Let stand 5 minutes.  Stir until smooth.  

After the ganache covered cake is chilled and both ganaches are stiff enough to be piped, the suggested decoration is to pipe the white ganache using a medium star tip to make many stars in two horizontal and one vertical line.  Then cover the remainder of the cake with dark chocolate stars.  


You can see my cake for the general lines, however I did not let my ganache sit long enough and it was too soft for stars.  I kind of did a general wavy thing instead in a similar pattern and decorated the sides because I had more ganache to use and they looked a bit messy.    

Finished cake must be kept in the refrigerator.  

It didn't turn out as well balanced between the white and the dark chocolates as I envisioned, but still absolutely delicious!!